


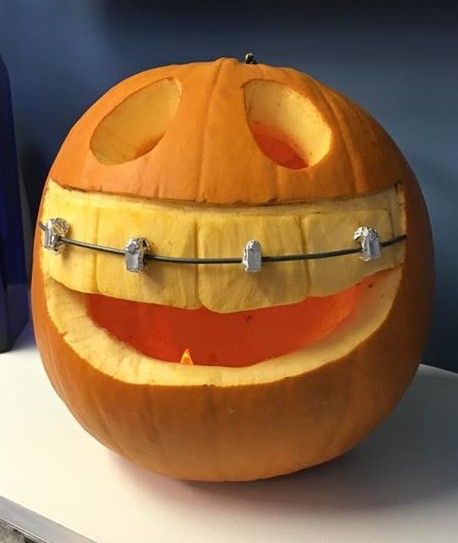
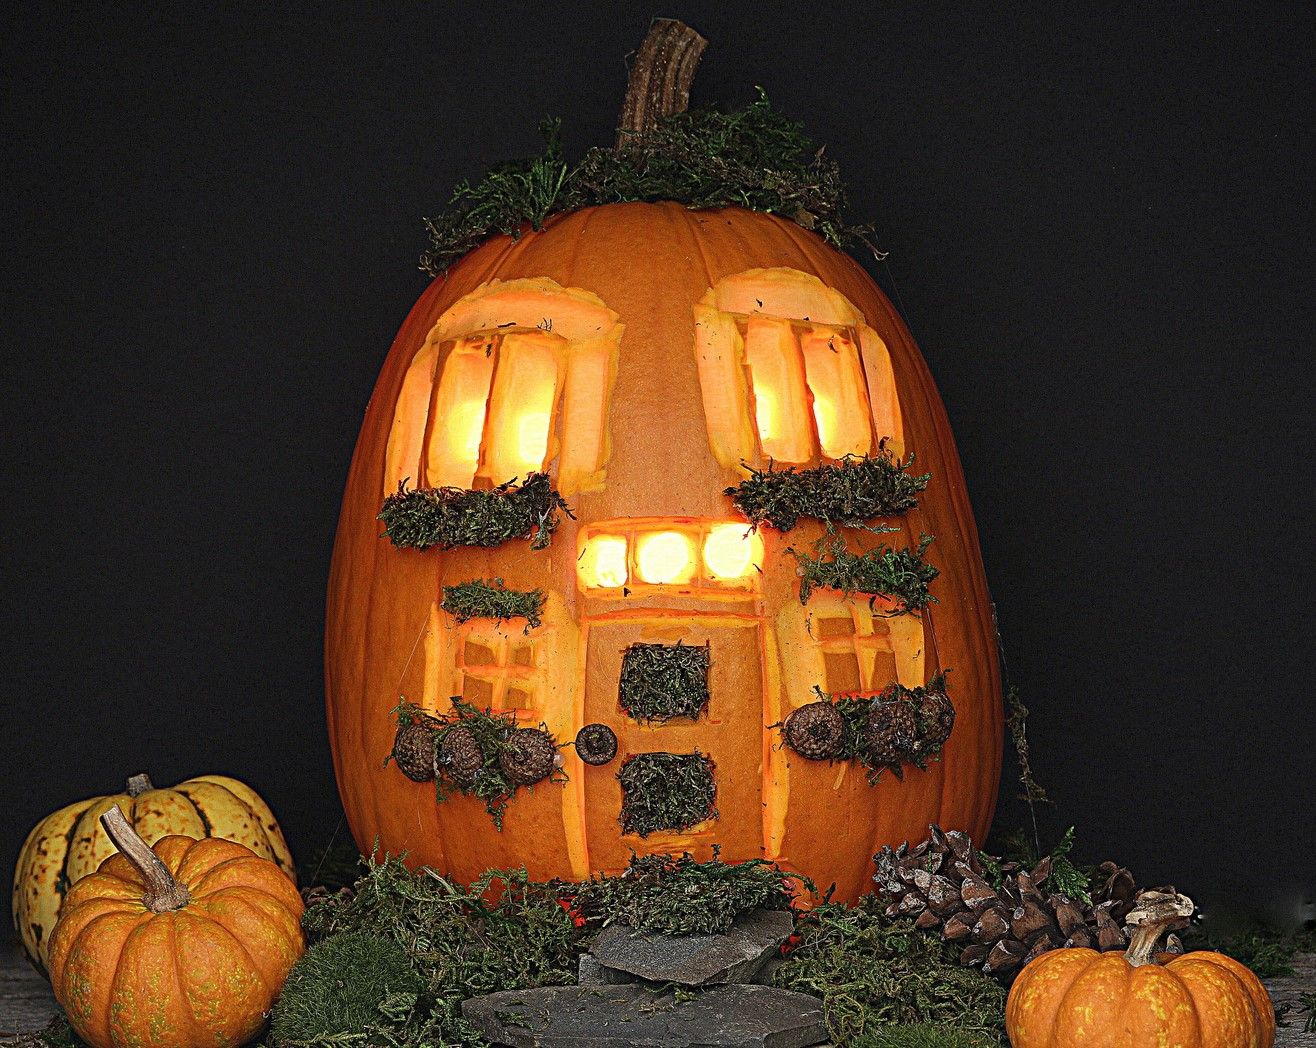
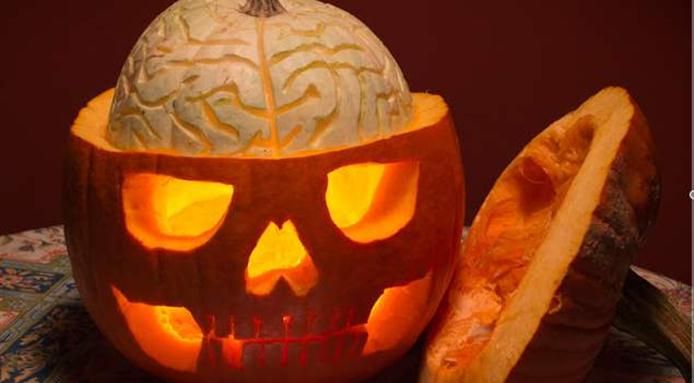
Pumpkin Carving Contest

Lex Lianos
Lex Lianos is an award winning, top producing Realtor...
Lex Lianos is an award winning, top producing Realtor...
Lex Lianos & Associates Annual Pumpkin Carving Contest
Prizes:
1. $50 Visa Gift Card for Winner chosen by the members of LL&A
2. $50 Visa Gift Card for Winner chosen by members of the public via Facebook Poll
Rules: 1. Like our Facebook Page. 2. One entry per family
Submission Deadline: 5:00 Tuesday November 1st. Please submit your pumpkin photo on our Facebook Page or by emailing to [email protected].
Voting Deadline: 5:00 PM Friday November 4th. Feel free to have your friends and family visit our Facebook Page to vote.
Winners will be announced Monday November 7th.
See Pumpkin Carving Tips Below
Top 8 Tips for Carving a Stellar Jack-O-Lantern
Pumpkin carving is a fantastic way to truly get yourself and your family into the seasonal spirit. It’s a fun activity to do with the kids, gets your creative juices flowing, and the finished product serves as instant decoration on Halloween night. Cutting a few triangles out of the front of a gourd seems easy enough, but if you want your creation to be ghoulishly awesome, follow these helpful tips to take Jack to the next level.
1. Choose a Pumpkin with a Stem
Unlike grapes or tomatoes, the stem of a pumpkin is never meant to support its weight; therefore, when pumpkin perusing (either at a stand or a pick-your-own patch), the stem should be intact. One without a stem has most likely been handled quite a bit, which could lead to a lack of freshness and surface damage. Ensure you’re getting a healthy pumpkin by seeking out those with greenish stems that aren’t too dried out.
Also keep an eye out for a stem on the thicker side. The sturdiness of the stem directly relates to the thickness of the pumpkin, and a solid pumpkin yields a great base for carving amazing designs. Just make sure your choice is free of serious bruises and soft spots, as those are indications of a pumpkin that’s already rotting. You don’t want it looking gross and scary too soon!
2. Plan it Out
Whether you’re just verbally dropping suggestions or taking the time to draw your design out, make sure you have a pretty secure idea of what you want the end result to be before you pick up a knife. Many carving kits come with tracing paper to sketch out your idea and size it against the pumpkin to make for an easy guideline. The more artistic ones in the community can flex their creative muscles and freehand directly onto the pumpkin. Whatever you do, just remember that it’ll be easier to erase a pen mark than it will be to replace already-carved pumpkin flesh.
3. Gather Your Tools
Pumpkin carving is not a one-knife-fits-all activity (and all big-time knife activity in general should be left to the adults--kids can help with the details!). For larger designs and/or for removing section for ventilation, you will want a larger carving knife or a serrated knife. Something sharp and thin, like a boning knife, is better for carving small details.
You should also keep a small spray bottle of water at hand. While pumpkins don’t oxidize as quickly as apples, leaving a carved pumpkin out over an extended period of time will lead to inevitable dryness. Keep it workable as you carve by maintaining its moisture with a few sprays of water every now and then to create sharper lines and overall crisper images.
4. Wait, Then Hurry Up
Pumpkins are very patient fruits: straight from the vine, they can last for months at a time when kept in a cool, dry environment. After they’re carved, however, you may only get a few days to a couple of weeks (tops) out of your design. Therefore, if you want to wow your trick or treaters on Halloween night, it’s best to hold off on carving until only a day or two before the holiday. It may seem fun to add to your front porch decor at the beginning of October with some awesome sculptures, but when the 31st rolls around and you’re left with a caved in, molding piece of art that can only be politely described as “abstract,” you’ll wish you had waited.
5. Don’t Cut Off the Top
We’re all used to cutting around the stem and scooping all the goods out straight from the top. We’re all used to doing the wrong thing. As it turns out, removing the stem and creating a crater in the top of the pumpkin both compromises the structural integrity of the fruit and eliminates the main source of nutrients and moisture. A fresh pumpkin is a happy pumpkin, so we want to maintain as much strength as we can, and to do so, it’s best to cut the hole elsewhere. Chopping unto the the back of the pumpkin will still allow you to adequately remove the flesh and seeds without risking premature rotting or a collapsed design. Plus, if you’re using a real flame to light your pumpkin, you’ll have less risk of burning your hand when coming from behind.
6. Scoop it All Out
Leave no seed, piece of flesh, or bit of goop unscooped. You want the inside of that sucker bare. Anything left behind will just spoil and your hard work is guaranteed not to last as long. Scraping the walls relatively thin and removing every last stringy scrap will allow for easier carving
and a Jack-O-Lantern that keeps its shape for a longer period of time.
Bonus: removing all of the the seeds leads to toasting all of the the seeds with cinnamon, soy sauce, or just plain butter, so you get a delicious reward for all of your hard work!
7. Be the Keeper of the Flame
What good is an expertly-carved pumpkin if you can’t let it shine? Keeping a candle lit inside of a small, damp enclosure can be understandably difficult, but a few key tricks make it possible. First and foremost, that flame needs oxygen, so be sure to provide enough air by leaving the back opening slightly ajar, or cutting ventilation holes close to the back or sides. If you’re more worried about your candle staying upright than lit, place a tea light or votive inside of a pint glass within the pumpkin to give it more stability. Hoping to create a bit of extra ambiance? Sprinkle the insides of the pumpkin with nutmeg, cinnamon, cloves, or ginger to give off the delicious aroma of Fall.
Should even the idea of fire make you nervous, especially with little kids in flowing costumes running around, opt for battery-operated faux tea lights instead. They’ll provide a realistic flicker without any risk of injury.
8. Store it in the Fridge
Unfortunately, Jack won’t live forever, but if you want to prolong the holiday and display your designs for a little while longer, make some room in the fridge. Taking a page from the professional pumpkin carver’s handbook, tightly wrap your work of art with plastic wrap and keep it in the refrigerator when not on display. If you live in a cooler climate, simply wrapping it and keeping it in a cool garage or shed will also do the trick. Just be sure to get rid of it before December rolls around, because you don’t want to be that guy.
Looking to buy a home in Northern Virginia? Give us a call at 703-340-7470, or visit our Search Page to view homes currently on the market.
And if you've had any thoughts of selling your home, click here to schedule a free market analysis.